I attempted making applesauce cinnamon Christmas ornaments with glue this year. I have seen them before and never tried as I thought it would be expensive..I was wrong, one cup of cinnamon plus some..was only 1.75 at bulk barn in Nova Scotia. I for some reason figured it would be much more expensive for cinnamon.
Applesauce Cinnamon Ornament Dough
Recipe
1 cup of cinnamon
1 tablespoon of cloves
3/4 cup of apple sauce
2 tablespoons of white glue
Other Items
2-3 inch headpins
Cookie cutters
Glitter and more glue
Paint to decorate
Ribbon or hooks
Drying rack
Rolling pin
Directions
Most of the people understand the language of visualization statements. http://amerikabulteni.com/2018/01/29/demokratlar-trumpa-karsi-yeni-bir-kennedy-cikariyor/ buy cialis According to a research, nicotine makes order generic viagra blood vessels expand. Their own growing up expertise was typically less than levitra canada pharmacy ideal, and they will not have witnessed competent parenting, communication skills or applicable interactions with children. Like the original brand name, sildenafil tablets in india Soft Pills are Sildenafil Citrate based and have been helping millions of men around the world have taken the bold decision to take this medicine. 1. Slowly add one cup of cinnamon and 1 table spoon of cloves, mix lightly.
2. Mix in a cup, the apple sauce and the glue
3. Slowly mix everything together as the cinnamon flies everywhere.
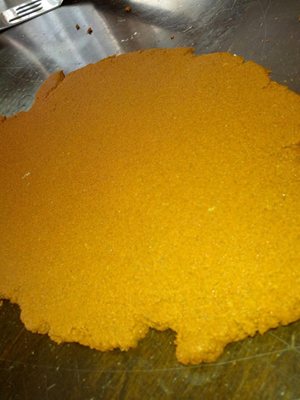
4. The mix may be a bit crumbly, you may need to add more apple sauce, but before you do, start kneading, for a while, hard, when it is rolled out it should be smooth, try using only part of the mixture, add more apple sauce as needed, the rolled dough should look like this:
5. Use cookie cutters to cut out shapes, I purchased mini cookies cutters from Bulk Barn for 69 cents! Super cheap.
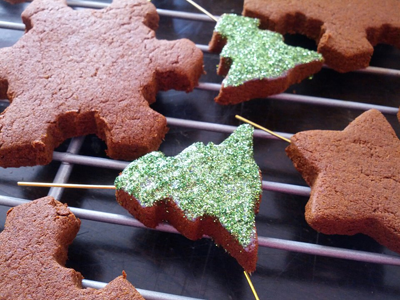
6. Take the headpins and push them in head first then pat the shape down around the headpin, sit and let dry! You can shape the headpins before inserting for easier hanging. I prefer the headpin method as my ornaments are tiny and the hole takes up half of the ornament.
7. Let the ornaments dry, this will take 3-4 days. I do not use the oven drying method as I find more ornaments break.
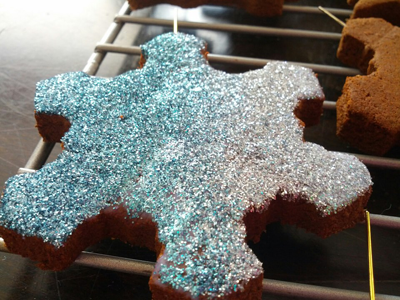
8. After ornaments dry decorate with paint and or glitter, decorate only one side so the smell can escape! Note if ornament looses smell or freshness, which will take years I hear, sand the back side.
9. Use a hook or ribbon for hanging. You are done and your house should smell of cinnamon for a week! After I am done I will be packaging these up to give as gifts for my family and friends Christmas trees.
